| AbcExport -h; // AbcExport [options] Options: -h / -help Print this message. -prs / -preRollStartFrame double -duf / -dontSkipUnwrittenFrames -v / -verbose -j / -jobArg string REQUIRED -jobArg flags: -a / -attr string -df / -dataFormat string -atp / -attrPrefix string (default ABC_) -ef / -eulerFilter -f / -file string REQUIRED -fr / -frameRange double double -frs / -frameRelativeSample double -nn / -noNormals -pr / -preRoll -ro / -renderableOnly -rt / -root -s / -step double (default 1.0) -sl / -selection -sn / -stripNamespaces (optional int) -u / -userAttr string -uatp / -userAttrPrefix string -uv / -uvWrite -wcs / -writeColorSets -wfs / -writeFaceSets -wfg / -wholeFrameGeo -ws / -worldSpace -wv / -writeVisibility -wc / -writeCreases -mfc / -melPerFrameCallback string -mpc / -melPostJobCallback string -pfc / -pythonPerFrameCallback string -ppc / -pythonPostJobCallback string Complete description here | AbcImport -h; // AbcImport [options] File Options: -rpr/ reparent DagPath -ftr/ fitTimeRange -rcs / recreateAllColorSets -ct / connect string node1 node2 ... -crt/ createIfNotFound -rm / removeIfNoUpdate -sts/ setToStartFrame -m / mode string ("open"|"import"|"replace") -ft / filterObjects "regex1 regex2 ..." -eft / excludeFilterObjects "regex1 regex2 ..." -h / help Print this message -d / debug Turn on debug message printout Complete description here |
|
Recently I found that there is no equivalent python command for alembic export import. I can't find the documentation on it either.
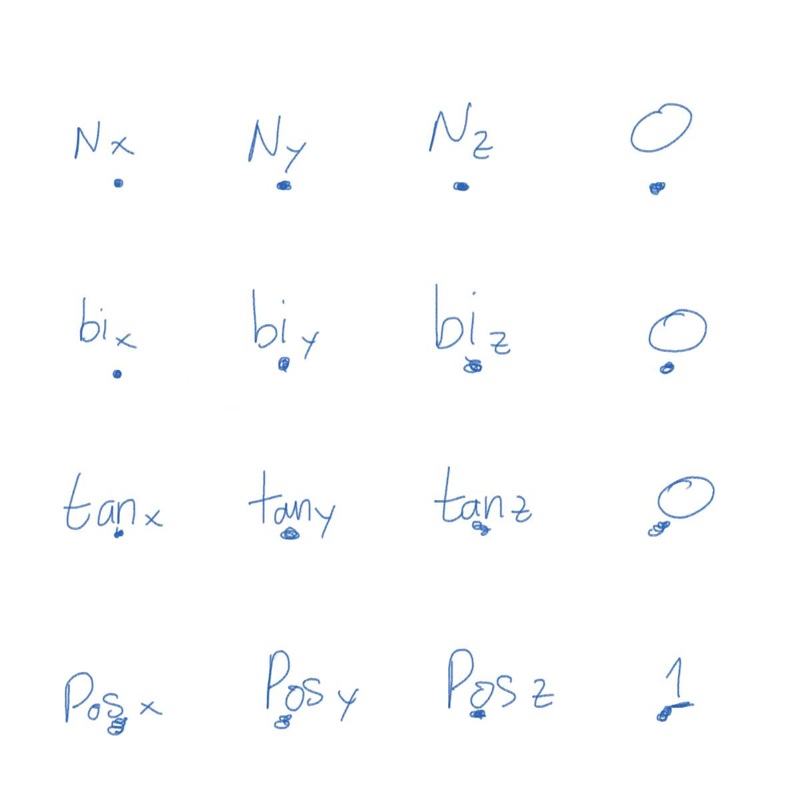
To read on the documentation, you have to call it in script editor using AbcExport -h and it only comes in mel. So after further research, I found a way to do it the python way. Basically, you have to wrap the mel version in a string and use it on the jobArg (j) flag. For the alembic export import maya.cmds as cmd start = 0 end = 120 root = "-root pSphere1 -root pCube1" save_name = "c:\documents\maya\project\default\cache\alembicTest.abc" command = "-frameRange " + start + " " + end +" -uvWrite -worldSpace " + root + " -file " + save_name cmd.AbcExport ( j = command ) If you do print command you'll get the following result -frameRange 0 120 -uvWrite -worldSpace -root pSphere1 -root pCube1 -file c:\documents\maya\project\default\cache\alembicTest.abc The alembic import command doesn't have the jobArg flag so I figured that I can import maya.mel to my python script and use the eval command. import maya.cmds as cmd import maya.mel as mel command = "AbcImport -mode import -fitTimeRange -connect " + '"' + root + '"' + " " + '"' + save_name + '"' mel.eval(command) Notice that you need to include the double quote encasing the root and save_name in the string. ' " ' If you do print command you'll get the following result AbcImport -mode import -fitTimeRange -connect "pSphere1 -root pCube1" "c:\documents\maya\project\default\cache\alembicTest.abc" Reference: About alembic export, click here About wrapping melscript inside python, click here I found this to be the easiest way to align object orientation along a curve. Using pointOnCurve command, you can query the position, tangent, and normal information. Using normal and tangent vector, find the bi normal / cross product and arrange all the numbers in a translation matrix with xform command. Normalized everything except position.
What happen when you create Xgen
Export Xgen Xgen won’t do regular export / import process. Currently it also doesn’t export any materials attached to it. So when the Xgen is ready, export the following items:
Import Xgen
How to reference the same asset multiple times in the same scene with Xgen
Preparing Xgen for batch render
Troubleshooting Namespace problem In Maya the xgen name look like this nameSpace:collectionName, but the folder name is actually look like this nameSpace__ns__collectionName because you can't have colon in the folder name. So in Maya, the Xgen file path should be automatically corrected to look for the later name. Well, sometimes it doesn't do that and give you an error. You have to correct the file path. Go to xgen window, collection -> edit file path. Save incremental issue Sometimes when you do the “Increment & Save” for your scene, Xgen “freaks out”. It is saver if you “Save Scene As” and increment the scene manually. Error on map painting and ptex baking: Most likely caused by your shader. Try change the geometry shader to default / lambert. Renderfarm settings When submitting to Royal Render please confirm that “Allow Local Scene Copy” is disabled. When this option is enabled, Royal Render will copy your scene file to the local directory of the render machine but not the xgen files. Thus, Xgen won’t show up on your render. Query time slider value - use playbackOptions.
link to documentation here Importing pymel -> import pymel.core as pm Convert to pynode -> pm.PyNode("[name]") |